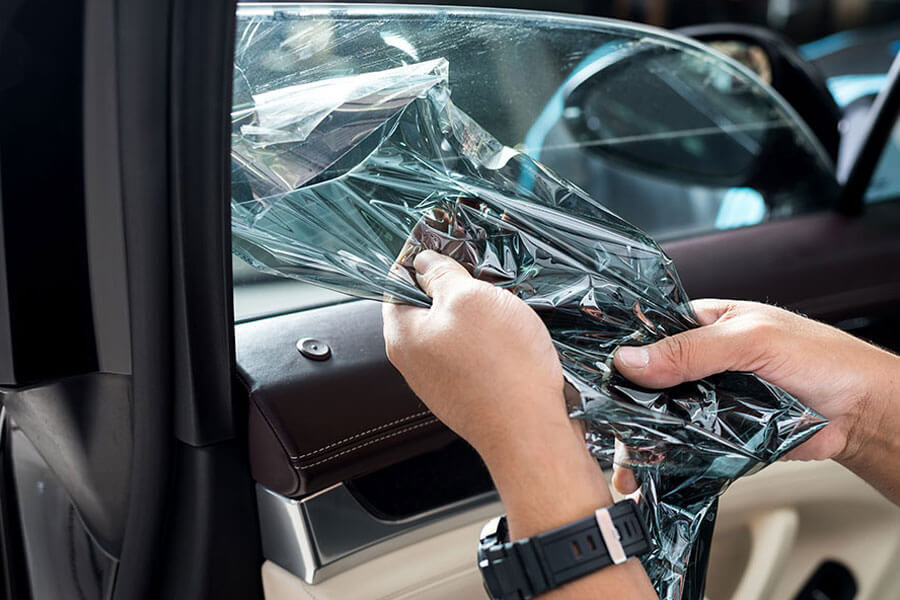
Investing in high-quality car window tinting comes with numerous advantages. Whether it’s protecting you and your passengers from harmful UV rays, enhancing privacy, or giving your vehicle’s windows a sleek aesthetic upgrade, there are compelling reasons for opting for window tinting. However, there are circumstances where you may find yourself in need of car window tint removal.
Perhaps you initially opted for a lower-quality film and are now dealing with the consequences, or you’re eager to upgrade to a more advanced and innovative tint such as carbon tints or ceramic tints. In either case, several reasons could motivate you to remove your current tint. Nevertheless, the removal process can be challenging, especially if you decide to tackle it alone.
Whether you’re contemplating the DIY approach or considering enlisting the services of a professional, ProCarSound&Security is here to help guide you toward your options on how to remove car window tint. We will outline best practices for DIY methods and explain why relying on professionals for all your car window tinting needs is often advisable.
DIY Vs. Professional Car Window Tint Removal
If you lack prior experience working with window tint film, it’s generally a wise decision to entrust the task of removing your car’s window tint to a professional. There are several worthwhile reasons for this, with time and convenience ranking high on the list. Removing car tint can become a sizable project, particularly when dealing with multiple windows, and it typically demands a substantial investment of time and elbow grease. Opting for a window tint removal service offers a far more convenient alternative.
Perhaps the most significant incentive to opt for professional window tint removal, aside from the time and effort requirements, is the potential risk of damaging your vehicle. While you might not be overly concerned about the window tint film you’re removing, the windows underneath are a different story. If the process isn’t flawless, window tint removal can easily lead to scratches or even breakage of your car’s windows. Replacing a windshield, side window, or rear window can be a costly affair.
In addition to removing your old window film, a window tint service can assist you in selecting and installing a new film. If you plan to upgrade to a higher-quality window tint, using the same service for removal and installation offers both time-saving convenience and potential cost savings.
Safety is another compelling reason to think twice about embarking on a window tint removal project. The process involves handling sharp tools like razor blades and generates significant dust and debris that can pose health hazards if inhaled. Consequently, protective gear such as safety gloves, a facemask, and safety glasses are prerequisites. Additionally, you’ll need to exercise extreme caution throughout the removal process.
Of course, we don’t want to discourage individuals with the skill and enthusiasm for tackling projects themselves. If you possess the inclination for such endeavors, the DIY route may be a suitable choice. Nevertheless, for most people, opting to work with a professional window tint service to remove old window film is the better option. It offers peace of mind, efficiency, and a safeguard against potential damage and safety concerns.
How To Remove Window Tint
If you’re up for the task of removing your car’s window tint yourself, we have summarized the general steps you’ll need to take if you want to know how to remove car window tint.
Gather Your Tools
Before you start, make sure you have these essential tools at your disposal:
- Heat gun or hair dryer
- Razor blade
- Scraper
- Spray bottle
- Cleaning solution
- Face mask
- Safety glasses
- Safety gloves
Prepare the Area
Select a well-ventilated location to minimize dust and debris, like your garage with the door open or an outdoor space. Protect the surroundings with tarps or plastic sheeting, and shield your car’s interior. Put on your safety gear: a facemask, safety glasses, and gloves.
Heat the Film
Use a heat gun or fabric steamer to loosen the adhesive that attaches the tint film to your car’s window. A hairdryer can work in a pinch, but it will take longer. Roll your window down slightly to expose the top edge of the tint film. Apply heat a few inches away from the window until you notice the edges curl.
Lift the Film
When the top edge of the tint film starts curling away, use a razor blade or scraper to peel it off gently. Take your time to avoid damage to the window or accidental cuts.
Remove Adhesive Residue
After peeling off the tint film, adhesive residue will likely remain on the window. Use an adhesive remover like isopropyl alcohol, an ammonia solution, or a nail polish remover. Soapy water can work but may require more time and effort.
Clean the Window
The final step is to thoroughly clean your window, removing any remaining adhesive residue and remnants of the adhesive remover.
Replace Your Window Tints
Now that you know how to remove car window tint, it’s on to the next step. Those who go through with removing their window tints typically do so to replace them with different tints. Trying to live your life without car tints after getting used to them is simply too difficult for many.
So if you’ve already removed yours and need tints or need someone to do the full replacement for you, don’t hesitate to contact the team at ProCarSound&Secutiy, who not only can professionally remove your tints but also consult with you and install a new tint.


